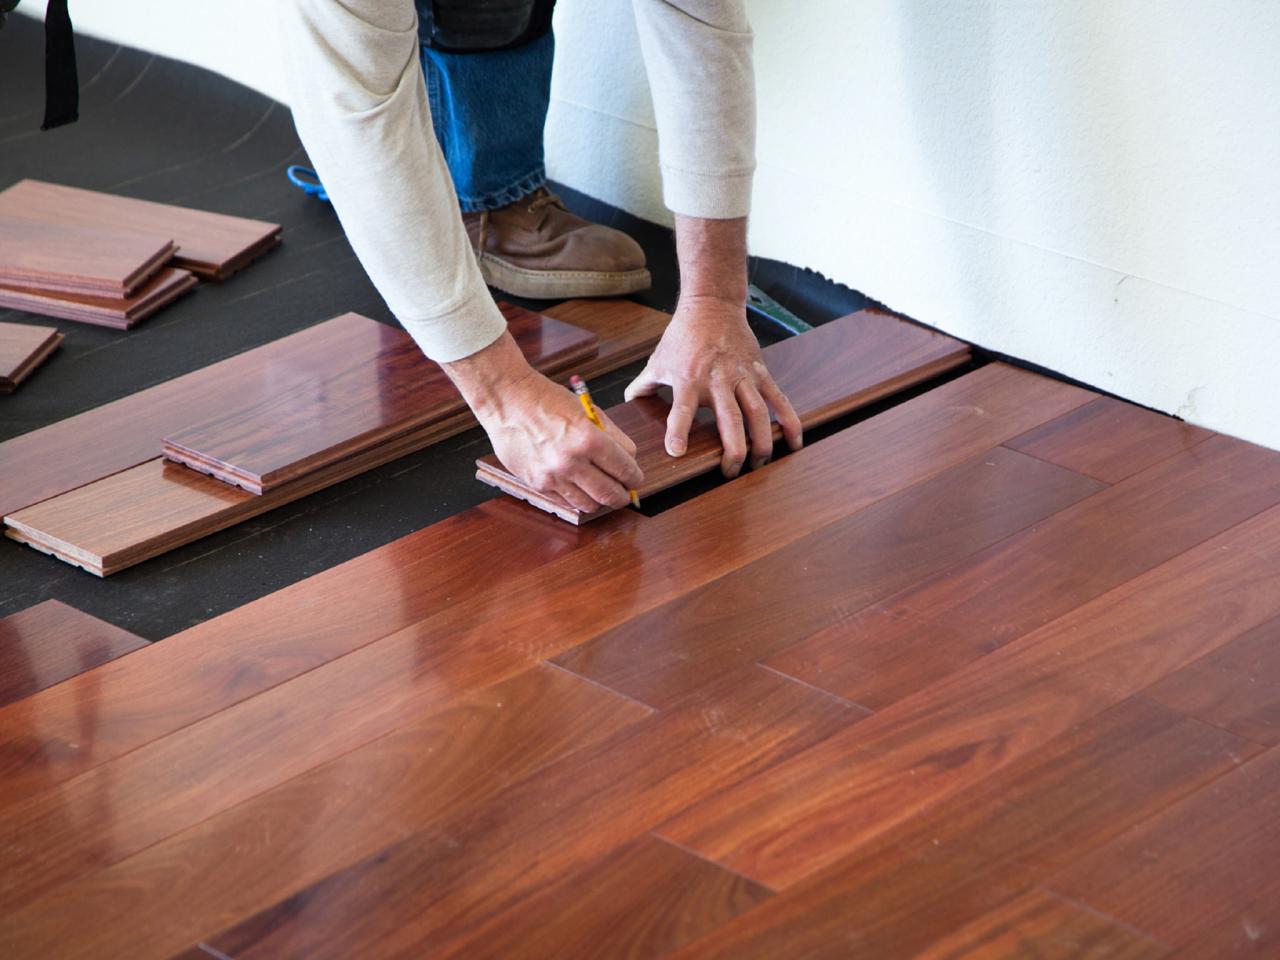
Hardwood flooring is one of the most popular flooring choices for homes. This material can add style, value, and warmth to any space in your house. This kind of flooring is durable and easy to install.
By understanding the flooring installation process, you will be able to make better decisions when it comes to installing the floor for your home. So keep on reading and we will take you through everything that you will want to know!
Choose Your Install Method
The kind of installation method that you pick is going to depend on your lifestyle, budget, subfloor, and the kind of flooring that you pick. For example, solid hardwood flooring is usually nailed down during the installation process. Tongue and groove engineered flooring tend to get glued down completely or clicked together.
There are three main installation processes that you should be aware of.
A glue-down installation is a common option for engineered flooring. It is usually clicked together and then secured by glue.
Click-lock installation, also known as floating installation, is the most popular option for engineered wood. This method involves clicking or connecting the panels together, which blocks moisture out. You want to use this installation method when the subfloor is tile, cement, or a floor that has radiant heat.
Lastly, there is the nail-down installation method. This is a very permanent install and is used often for solid wood. After the hardwood is installed, the nails won’t be very visible.
You need a wooden subfloor for this method. If you don’t have a wooden subfloor, you need to create a subfloor with plywood or replace the current flooring. This will boost the overall cost of the flooring project and isn’t always worth it.
You should definitely consider using trouble-free wood floors to make the job easier.

Flooring Installation Preparation
When you having your floors installed, you want to have the area ready before your installers show up. To make sure that there aren’t any misunderstandings, the installation order will need to list who is going to be moving appliances and furniture.
Let’s go over a quick checklist so you can be prepared.
First off, you want to remove anything that is breakable. This includes empty curio cabinets, paintings from your walls, and glass frames.
Get rid of blinds and drapes that could be touched by the installers. Also, take out items from storage areas and closets.
Figure out who is moving appliances and furniture. You should also know who is going to be removing the subfloor as well as old flooring.
Check to see if the height of the floor is going to stop your doors from properly opening. You also want to verify the recommended installation temperature for flooring.
Lastly, you want to clean the subfloors before the installers show up.
You should contact your installer before the day of the installation if you have any questions about what you need to do. This is going to ensure that there isn’t any miscommunication going on.
Glue-Down Install Method
Once the floor is ready, flooring adhesive will be spread with a trowel. Then, the first row of the floor is going to be laid. When the second row is added, the groove will be fit onto the first row’s tongue.
Spacers will be used to maintain the expansion gap. The baseboard and shoe molding will then be used to cover the expansion gap.
The transition strips or threshold will be installed in place where the edge of the floor is exposed.

Nail-Down Install Method
The first step of this method is to align the first board with the layout line. The tongue needs to be facing into the room.
Pilot holes will be drilled into the face of the first board. Flooring nails will then go through the holes.
The ends of the tongue and groove flooring will be seated into each other. The first row will be nailed down.
After installing the next few rows, there will be enough space to get a flooring nailer between the wall and the boards.
Your installers will work their way across the room, row by row. The ends of the board will need to be staggered.
All visible holes will be filled with wood filler.
The shoe molding will be used to cover the expansion gap.
Click-Lock Install Method
The first board will be put up against the mason’s line. Pilot holes will then be drilled in every few inches. Flooring nails will then go through the pilot holes.
As the rows are installed, the joints will be staggered six inches apart. If there are any gaps, they can be eliminated by using a mallet.
Finally, the transition strips or threshold will be installed in place where the end of the floor is showing.
The Importance of Knowing What to Expect From the Flooring Installation Process
Hopefully, after reading the above article, you now have a better idea of what to expect from the flooring installation process. As we can see, there is a lot of work involved with installing floors. But when you know what to expect, you can make smarter and more confident decisions when it comes to building or renovating your home.
Are you looking for other helpful and interesting articles like this one? If you are, then you should definitely make sure to check out the rest of our site today for even more!