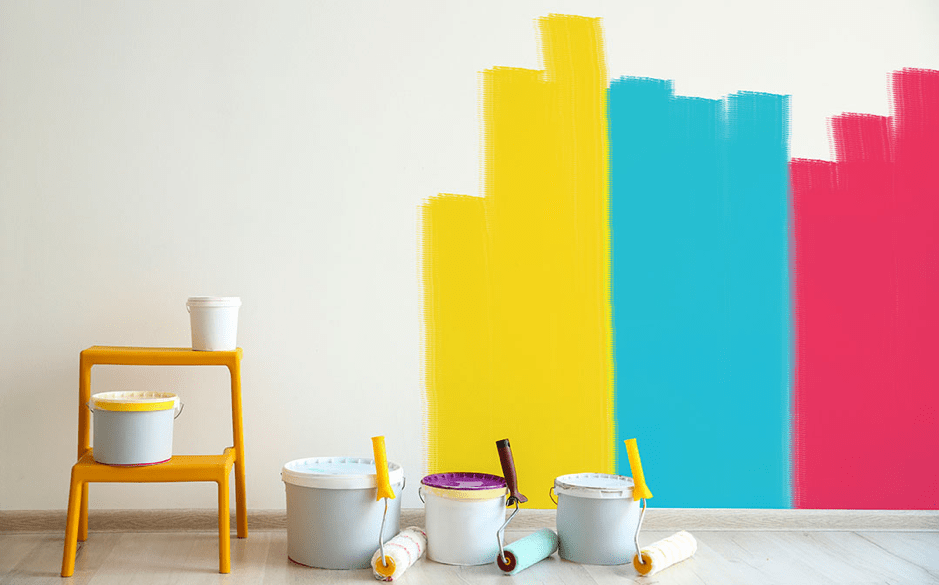
Did you know it costs around $4000 to paint a full house? For many people, this cost is cut by doing the job themselves. But just how do you get that professional look when going the DIY route?
Luckily, with a few tips, it is easier than you think. Read on as we discuss the best techniques for DIY wall painting.
1. Sand Your Walls
To get even and professional-looking DIY wall painting, then you need to prepare accordingly. Most of that is by getting walls as smooth and even as you possibly can. Once you have filled in cracks and holes, it is time to even things out with sandpaper.
Sanding removes rough spots and burrs that will really pop once you apply paint. It will flatten ridges around nail holes and level out the compound. In addition, a smoother surface allows the paint to stick to the surface easier.
Purchase a sanding pole and some medium-grade sandpaper. Work up and down the wall from floor to ceiling. Once done, change to horizontal sanding and rub the dust off with a dry cloth when finished.
2. Mask and Let Dry
One of the tried and tested wall painting tips is to use masking tape to shield areas you don’t want paint on. For example, you can mask off baseboards and frames so your brush does not splash onto other areas. This can help you get fine lines with your painting.
One mistake many people make is to peel the masking tape off once they have finished painting. However, you should let it dry for a number of reasons.
The first is that your paint may still be dripping, and could roll onto your masked surfaces. In addition, if the paint is on the sticky masking tape, it is very easy for this to rub over onto other areas, spreading paint from the tape to the clean surfaces.
3. Don’t Go Cheap
Many cheaper household goods and materials are often just as good as the more expensive, branded ones. However, when it comes to painting materials buying cheap is a false economy. You will get the finish you pay for.
When you buy paint, cheaper products tend to be thinner. This means they need more coats. This extra work can cost you not just money, but in the time it takes to get the job done.
Generally, it will also be less durable. You may find it flakes off the wall, has streaks when applied, or a general uneven finish.
The same goes for your tools, such as brushes and rollers. Cheaper brushes hold less paint, and bristles will come away and set on the surface you are painting. For a range of great materials to use when painting see more by clicking here.
4. Start With Trims
If you are painting both the walls, trims, and fittings, then you need to follow a certain order. This is because it is easier to mask the trims than it is the wall. Start by painting all of your baseboards, door, and window frames.
You don’t need to be that neat, as any paint going onto the wall will be painted over later. Keep it even, making sure you sand and fill it before the application of paint. You should then let it dry for at least 24 hours.
After this, you can tape it off. Start in the walls, then the ceiling, and let them try before removing the masking tape.
5. Cover the Furniture
You may be tempted to simply move the furniture out of the wall when painting. However, this will simply not work. It is almost certain you will get paint splashes and droplets on your furniture.
Even the most careful painter gets splodges around the place. Paint particles can also travel through the air, creating thin coats of paint on surfaces. Therefore, it is imperative you cover your floor and furniture.
Canvas drop cloths are the best choice for your floor. Don’t use old bedsheets, as paint simply absorbs into them, spreading and staining your floor even more.
Plastic sheeting to cover furniture is also relatively cheap. Move everything to the center of the room and cover it with this.
6. Add Primer
Adding primer does add to the labor, but it is vital to get the best from your paint. It will ensure consistency in your painting, giving an even sheen across all the surfaces.
When you have a wall, it absorbs some of the paint. Some areas are more porous than others, meaning they suck in more of the paint itself. This can result in patchy areas and blotches.
With primer, the wall has already absorbed paint. This means your topcoat will sit on top of the primer and not absorb, giving a more even surface.
7. Use a Loaded Brush
When filling the brush with paint, avoid the temptation to fill it full of paint and begin. Instead, only add paint to the bottom one and half inches of the brush. Knock the brush on the tin or bucket so the heavy globules fall off.
This gives you enough paint to start, but not so much it will drip and blotch. The alternate technique of running the bristles along the bucket to remove excess actually removes too much, leaving a dry brush.
Prepare for Wall Painting
In summary, wall painting is mostly about preparation. Time spent setting up and preparing the walls will be well spent. Combine it with good tools and paint, and see how professional your finish will be.
If you enjoyed this article, we have many more to help. From maintenance to management, we have everything to help your property needs!